Export Revit sheets to AutoCAD layouts and combining them into a single DWG file can be an incredibly time-consuming process. Furthermore, natively presenting those exported files into multiple individual layouts within AutoCAD is nearly impossible. To solve this problem and significantly speed up your workflow, we will use the powerful Revit plugin called “Export Multiple Sheets to DWG” by MLabs.
📋 Table of Contents
A. How to Download and Install the Plugin
- Download the plugin: Get the latest installation file from our official page: MLabs Official Page
- Install: Run the downloaded installer and follow the on-screen instructions.
- Launch Revit: Open Autodesk Revit and load your project.
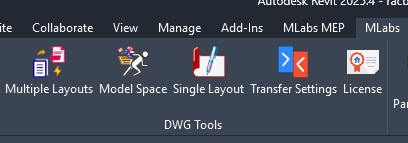
- Locate the tool: Navigate to the MLabs tab on the Revit ribbon, as shown in the image below:
B. How to Use the “Multiple Layouts” Command
The “Multiple Layouts” feature is the core function that allows you to combine multiple Revit sheets into one seamless AutoCAD file with customized layouts.
1. Select the Revit Sheets to Export
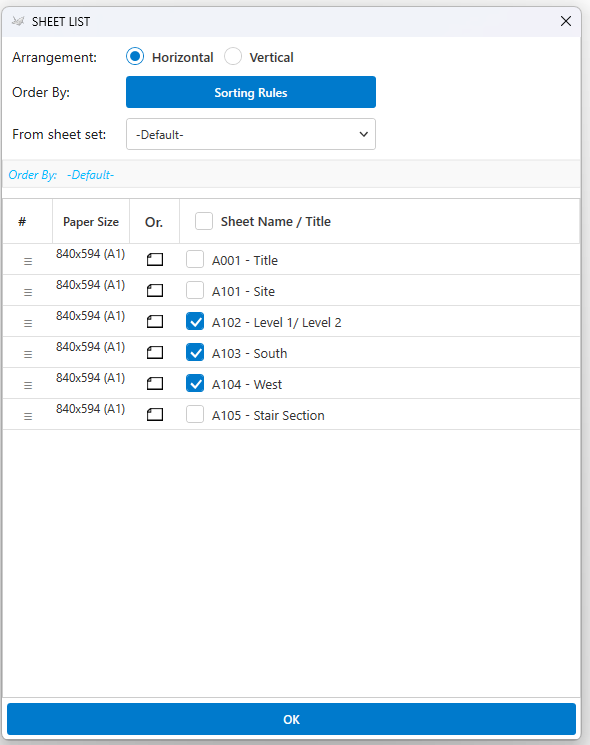
a. View Arrangement
- Horizontal: Aligns your exported views horizontally side-by-side within the AutoCAD model space.

- Vertical: Aligns your views vertically. Each Revit sheet will be ordered continuously in a single column.
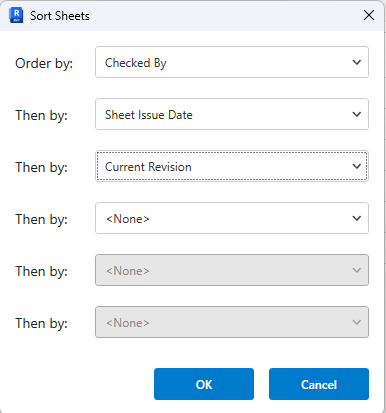
b. Order By
You can dynamically re-order your sheet list based on custom rules (e.g., by Sheet Number or Sheet Name) to match your firm’s standards.
c. From Sheet Set
Quickly select a pre-defined group of sheets from your existing Revit sheet sets. You can manage and set up your sheet sets via the native Revit Print dialogue (Ctrl + P).
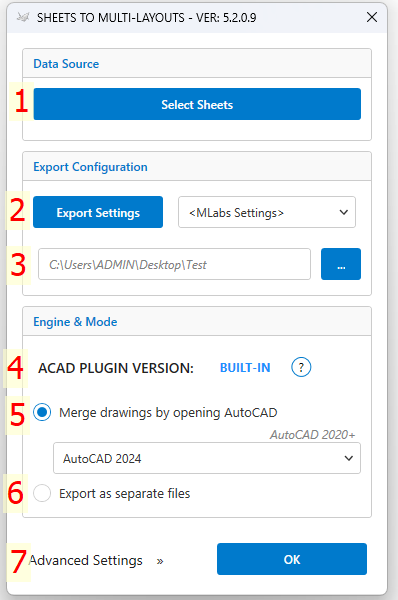
2. DWG Export Settings
Select the standard Revit DWG export setup (layer mapping, lines, patterns) you want to apply to this export session.
3. Select a Save Path
Choose the destination folder on your computer where the final AutoCAD files will be generated.
4. AutoCAD Plugin Version Options
Click on the “Status” icon to see more details regarding the background AutoCAD integration.
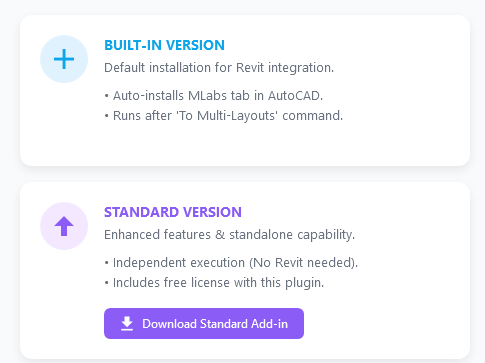
- ⚙️ BUILT-IN: When you execute the “Multiple Layouts” command, a companion AutoCAD plugin is installed silently. This adds an “MLabs” tab directly inside AutoCAD with extra tools. This companion tool must be driven by the Revit plugin to function for layout combining.
- 🚀 STANDARD: The standalone version of the tool.

5. Merge Drawings by Opening AutoCAD
⚠️ Compatibility Note: This feature requires Revit 2021+ and AutoCAD 2020+ (Supports Full AutoCAD, Mechanical, Architecture, Civil 3D. Please note that AutoCAD LT is NOT supported as it lacks API capabilities).
Select the specific AutoCAD version installed on your machine that you want the plugin to use for the merging process.
6. Export as Separate Files
If checked, this feature will bypass the merge function and work identically to Revit’s default DWG export, creating individual DWG files for each sheet.
7. Advanced Settings
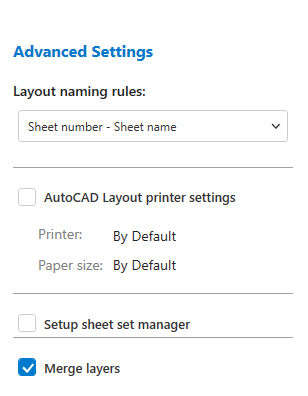
a. Layout Naming Rules
- Sheet Number – Sheet Name: Formats the AutoCAD Layout tab as both. (e.g., “A101-General Plan”).
- Sheet Number Only: Formats the layout tab using only the sheet number (e.g., “A101”).
b. AutoCAD Layout Printer Settings
- Automatically set up the layout plotter/page setup inside AutoCAD immediately after the export is completed.
c. Setup Sheet Set Manager
- Automatically generate an AutoCAD Sheet Set (.dst file) containing your new layouts once the export process is done.
d. Merge Layers
- Cleans up your DWG by merging all layers that contain special characters at the beginning of the layer name.
- Note: This process consumes additional processing time. You can turn this feature off if layer naming strictness is not a priority for your project.
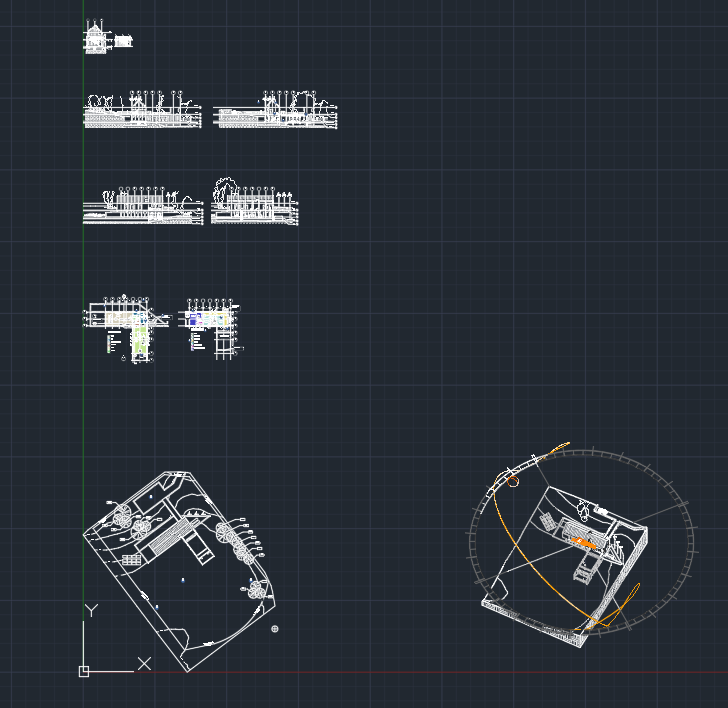
C. Execute and Review
Once you have configured all your settings, simply click the OK button to run the export and merge process. Sit back while the plugin automates your drawing package!
📺 Watch the plugin in action via our video tutorial below: